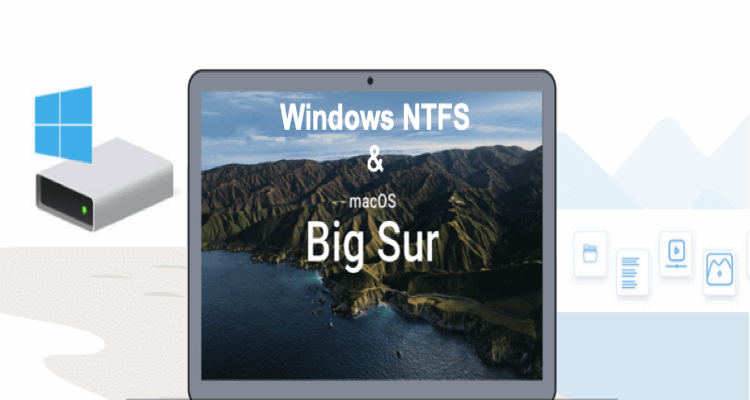
How to use NTFS drives on Mac computers is frequently asked question by Mac users, especially by those people who move from a Windows PC to a macOS with NTFS-formatted storage devices.
In this article, you will learn how to use NTFS-formatted drives efficiently, and most importantly, with full read and write access on macOS Big Sur.
Does macOS Big Sur support NTFS file system?
NTFS is the proprietary file system by Microsoft and macOS only supports read-only access to NTFS-formatted volumes. That is to say, on the one hand, an external disk that was formatted with NTFS in Windows can be mounted, opened and viewed on macOS. One the other hand, it can’t be partitioned or renamed and the stored files can’t be edited at all. Even though files can be moved out from the read-only NTFS disk, they can’t be moved back to the NTFS disk and new files can’t be downloaded to the disk either. As a result, the Windows NTFS disk loses its functionality as a storage medium for file transferring between Windows platform and macOS platform.
Even macOS has been upgraded to macOS 11 late 2020, the basic NTFS file privilege is not changed. NTFS drives still can be read but not written to on macOS Big Sur.
So how can you use an NTFS drive and make it fully compatible with macOS Big Sur?
How to use NTFS drives on Mac?
You can use NTFS-formatted with read write privilege by erasing the drive and assigning it with a Mac-friendly file system such as FAT, exFAT, or HFS+. However, this method will need you to back up important files, reformat the disk and move files back to the disk. It is not convenient and efficient enough. In addition, it may result in disk corruption because FAT or ExFTA has a single file size limit of 4GB.
Keep reading to find ways to make use of your NTFS drives more easily and efficiently.
Method 1: Install a third-party NTFS for Mac app
NTFS for Mac app is an NTFS driver that needs to be installed on macOS to provide a universal file system through which NTFS file system and macOS can communicate. In other words, with the app, the macOS can read and view the files on an NTFS-formatted device as well as write to it. It works as a bridge over the gap between Apple’s macOS and Microsoft NTFS.
There are three main criteria for selecting a good NTFS for Mac tool.
- Compatibility. To use NTFS drives on macOS 11 Big Sur, don’t forget the check the tech specifications to know if the app you are interested in has full compatibility with the operating system. Otherwise, the app won’t be able to mount the NTFS drives.
- Security. While reading and writing to NTFS files, data security is another priority you should take into consideration. Check reviews and comments to know if the app will cause file corruption or disk corruption with big chances.
- Speed. It will be annoying if the data transferring speed is slow while using the NTFS disk on macOS Big Sur. Go find an app that claims it has the data writing speed as fast as using compatible disks. Then download the free trial to use it before purchasing a license if it is a paid tool.
Unfortunately, since macOS Big Sur is the newest operating system on Macintosh computers, many open-source NTFS for Mac tools haven’t been updated to support it. If you are very budget sensitive, you can wait around for a while until Mounty for NTFS or FUSE for macOS are updated.
Method 2: Upload the NTFS files to cloud
Many of us may have at least one cloud storage service such as iCloud, Dropbox, and Google Drive. Using cloud-based storage has a few benefits. For example, cloud storage improves the file accessibility as the user can access the files at any time, in any place, and on any device. It eliminates the boundaries of physical drives and file systems.
Therefore, you can move the files out of an NTFS drive, edit them and upload them to your cloud account. Cloud synchronization is reasonably fast and you will basically perform data sharing between a Mac and a cloud drive without an NTFS drive later.
However, if you are worry about the Internet accessibility and cloud data security and prefer to use a physical NTFS drive natively on Mac, the third approach is to use Boot Camp.
Method 3: Use Boot Camp Assistant to install Windows on Mac
This solution is not suited to MacBook Air, MacBook Pro and Mac mini with M1 chip released late 2020. Those Macs were shipped with macOS Big Sur, but Boot Camp is currently disabled as they are using the Apple silicon processor.
macOS is a very exclusive operating system and many programs or games initially coded for Windows won’t be able to run properly on macOS. To enable Mac users to switch between Windows and macOS on a Macintosh computer, a utility called Boot Camp Assistant can walk you through the process of installing Windows operating systems.
After the installation, you just need to boot into Windows when starting the computer up and you will be able to use the NTFS drives on a Mac computer natively within Windows partition. There are two main drawbacks of using Boot Camp on a Mac. Since the macOS and Windows are installed in separate partitions, the internal storage will be reduced when you are using either of them. Besides, switching between two operating systems is not convenient because it requires a restart.
Final words
Using Microsoft NTFS formatted storage devices on macOS Big Sur with capability to edit NTFS files is possible. We select three best and easiest ways to accomplish the mission. Even though reformatting sounds easy enough, you can only format the disk to FAT or ExFAT. The disk will lose the advantages of NTFS format such as file permissions, compression, and large file support. It is recommended to leave the local portable disk formatted with NTFS and use the mentioned way to fix the incompatibility problem.